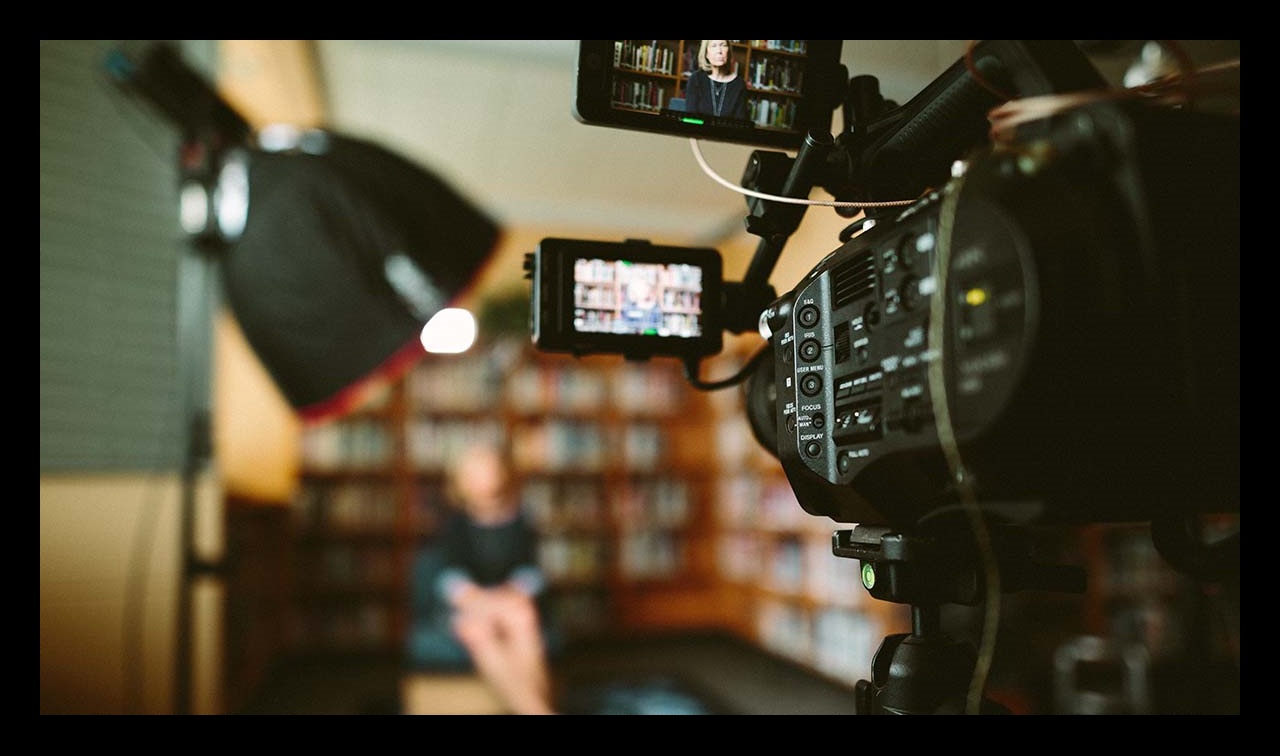
Shooting videos for science
Why create videos?
Clear, visually interesting videos are a great way to share your science with new audiences.
One of the best ways to explain your science is through the use of video. Whether it’s an image from a distant planet or particle samples in a desert, it’s always captivating to get a visual sense of the science going on around us. Not only that, but this is your chance to grab the attention of those who might be put off by scientific terms or acronyms. Below are a few tips that will help you tell your story.
If video doesn’t meet your needs, but you still want to engage people with your science, consider using social media.

- Keep it simple. You might think it’s a great idea to do a lot of intense close-up shots or to use trendy background music, but if you’re not a professional and you have only one chance of getting it right, it might not be worth the risk.
- Balance the shot! You might think that you have a steady hand, but be assured, it’s nowhere as good as a tripod. If you don’t have access to one, improvise. Simply putting the camera down on a level surface will do the trick in a pinch.
- Check the audio. If your device allows you to adjust audio, take the time to learn this feature. Also, when shooting an interview, if at all possible, use a lapel mic. Most importantly, though, always check to make sure that you are indeed recording audio. Sometimes the switch of a button can do a lot of harm.
- Lighting is key. Try to always have your main source of light behind or to the side of you – never in front looking at the camera. If you’re shooting a subject with the Sun in view, your camera will go dark (to adjust).
- What are we watching? Tell your viewers what they’re looking at. Use simple terms that anyone who might stumble on this video will understand.
Tips for video